본문
PRODUCT REVIEW
KASE CLIP-IN FILTER SONY A7 4 IN 1 SET (MCUV+ND8+ND64+ND1000)

INTRODUCTION
A while ago I got the opportunity to review and test a new filter system KASE introduced on the market. Where most people are familiar with the screw-on filters and with the square (stackable) filters,
KASE went one step further introducing clip-in filters.
They designed different versions of this filter, for 4 camera brands: Sony Alpha, Canon, Fujifilm and Nikon cameras. For Sony the filters can be applied on any Sony Alpha 7/9-series camera and any lens
combination. For Canon, Nikon and Fujifilm, KASE launched separate filters for specific camera-lens combinations.
I will review the “4 in 1” filter set on my Sony A7R III camera.
The 3 included ND filters provide 3, 6, and 10 stops of light reduction, allowing for better control of shutter speeds to compose the desired level of depth of field or motion blur, even in
very bright circumstances. The UV filter protects the camera sensor when changing lenses and also adds a multicoated layer reducing UV haze.
UNBOXING
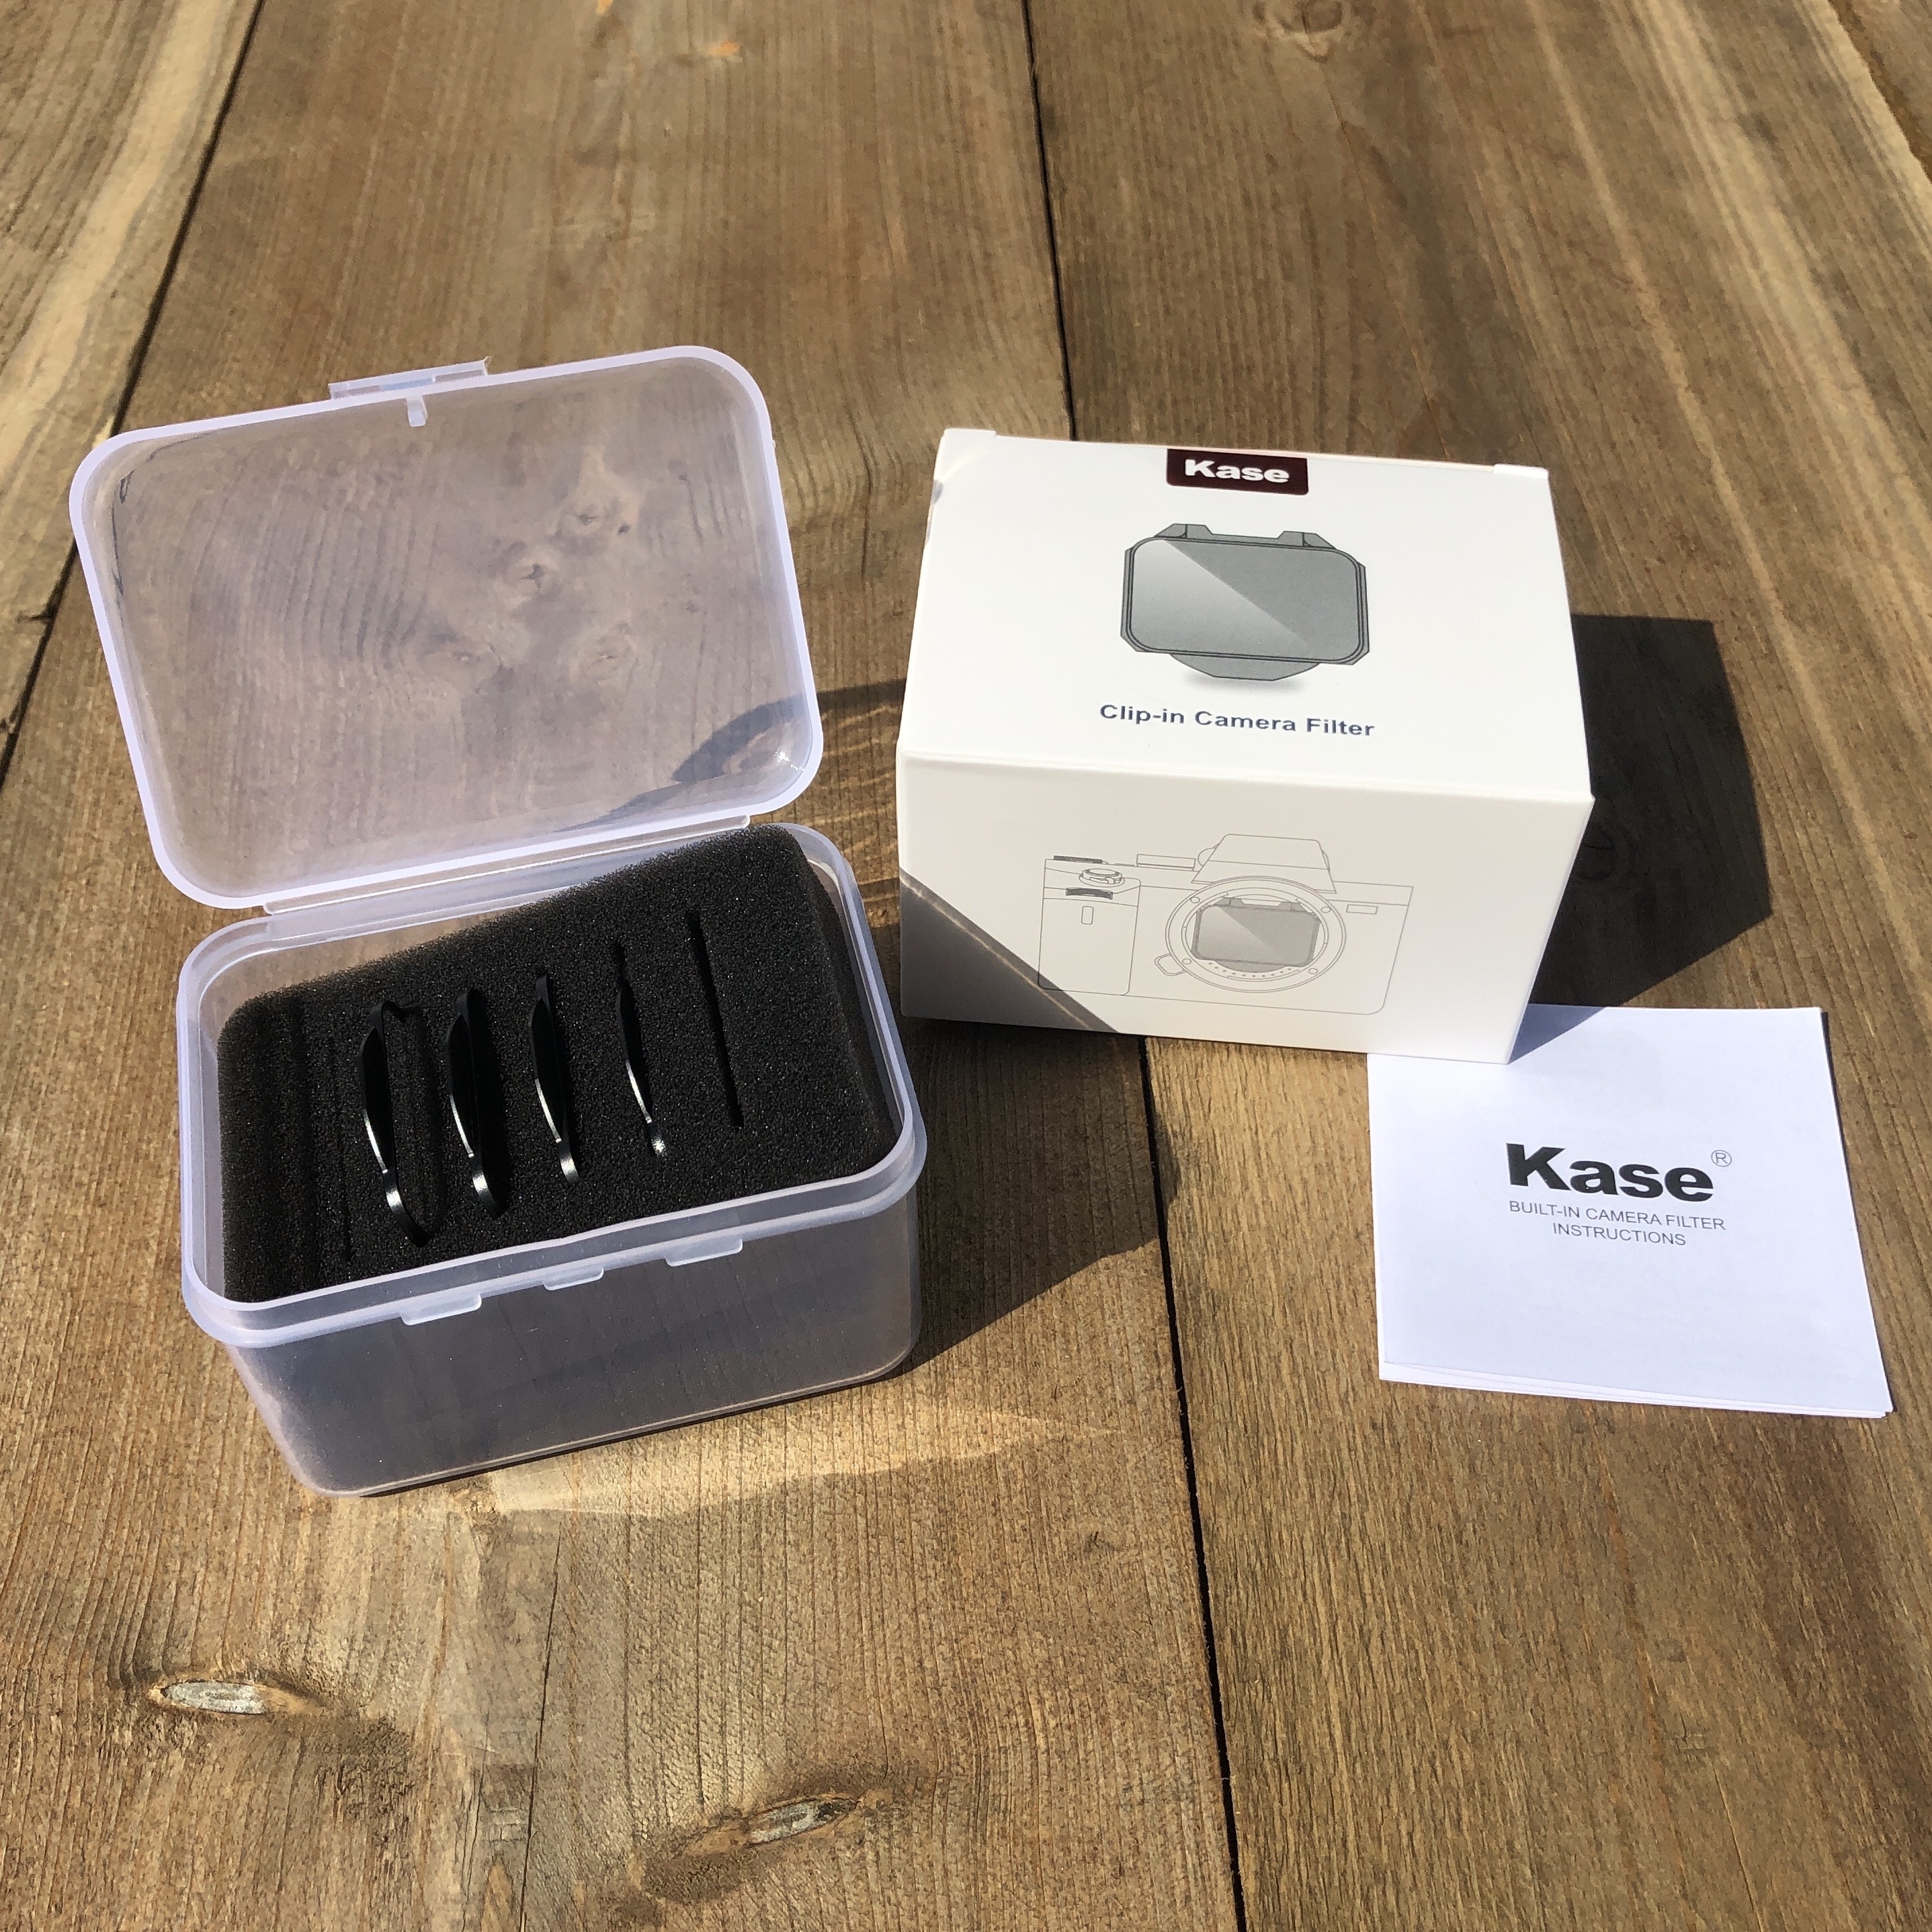
As with all KASE filters, also this filter set comes in a nicely designed carton package. In the box you find:
- KASE UV protection filter
- KASE ND8 filter
- KASE ND64 filter
- KASE ND1000 filter
- Transparent plastic storage box (6 filter slots)
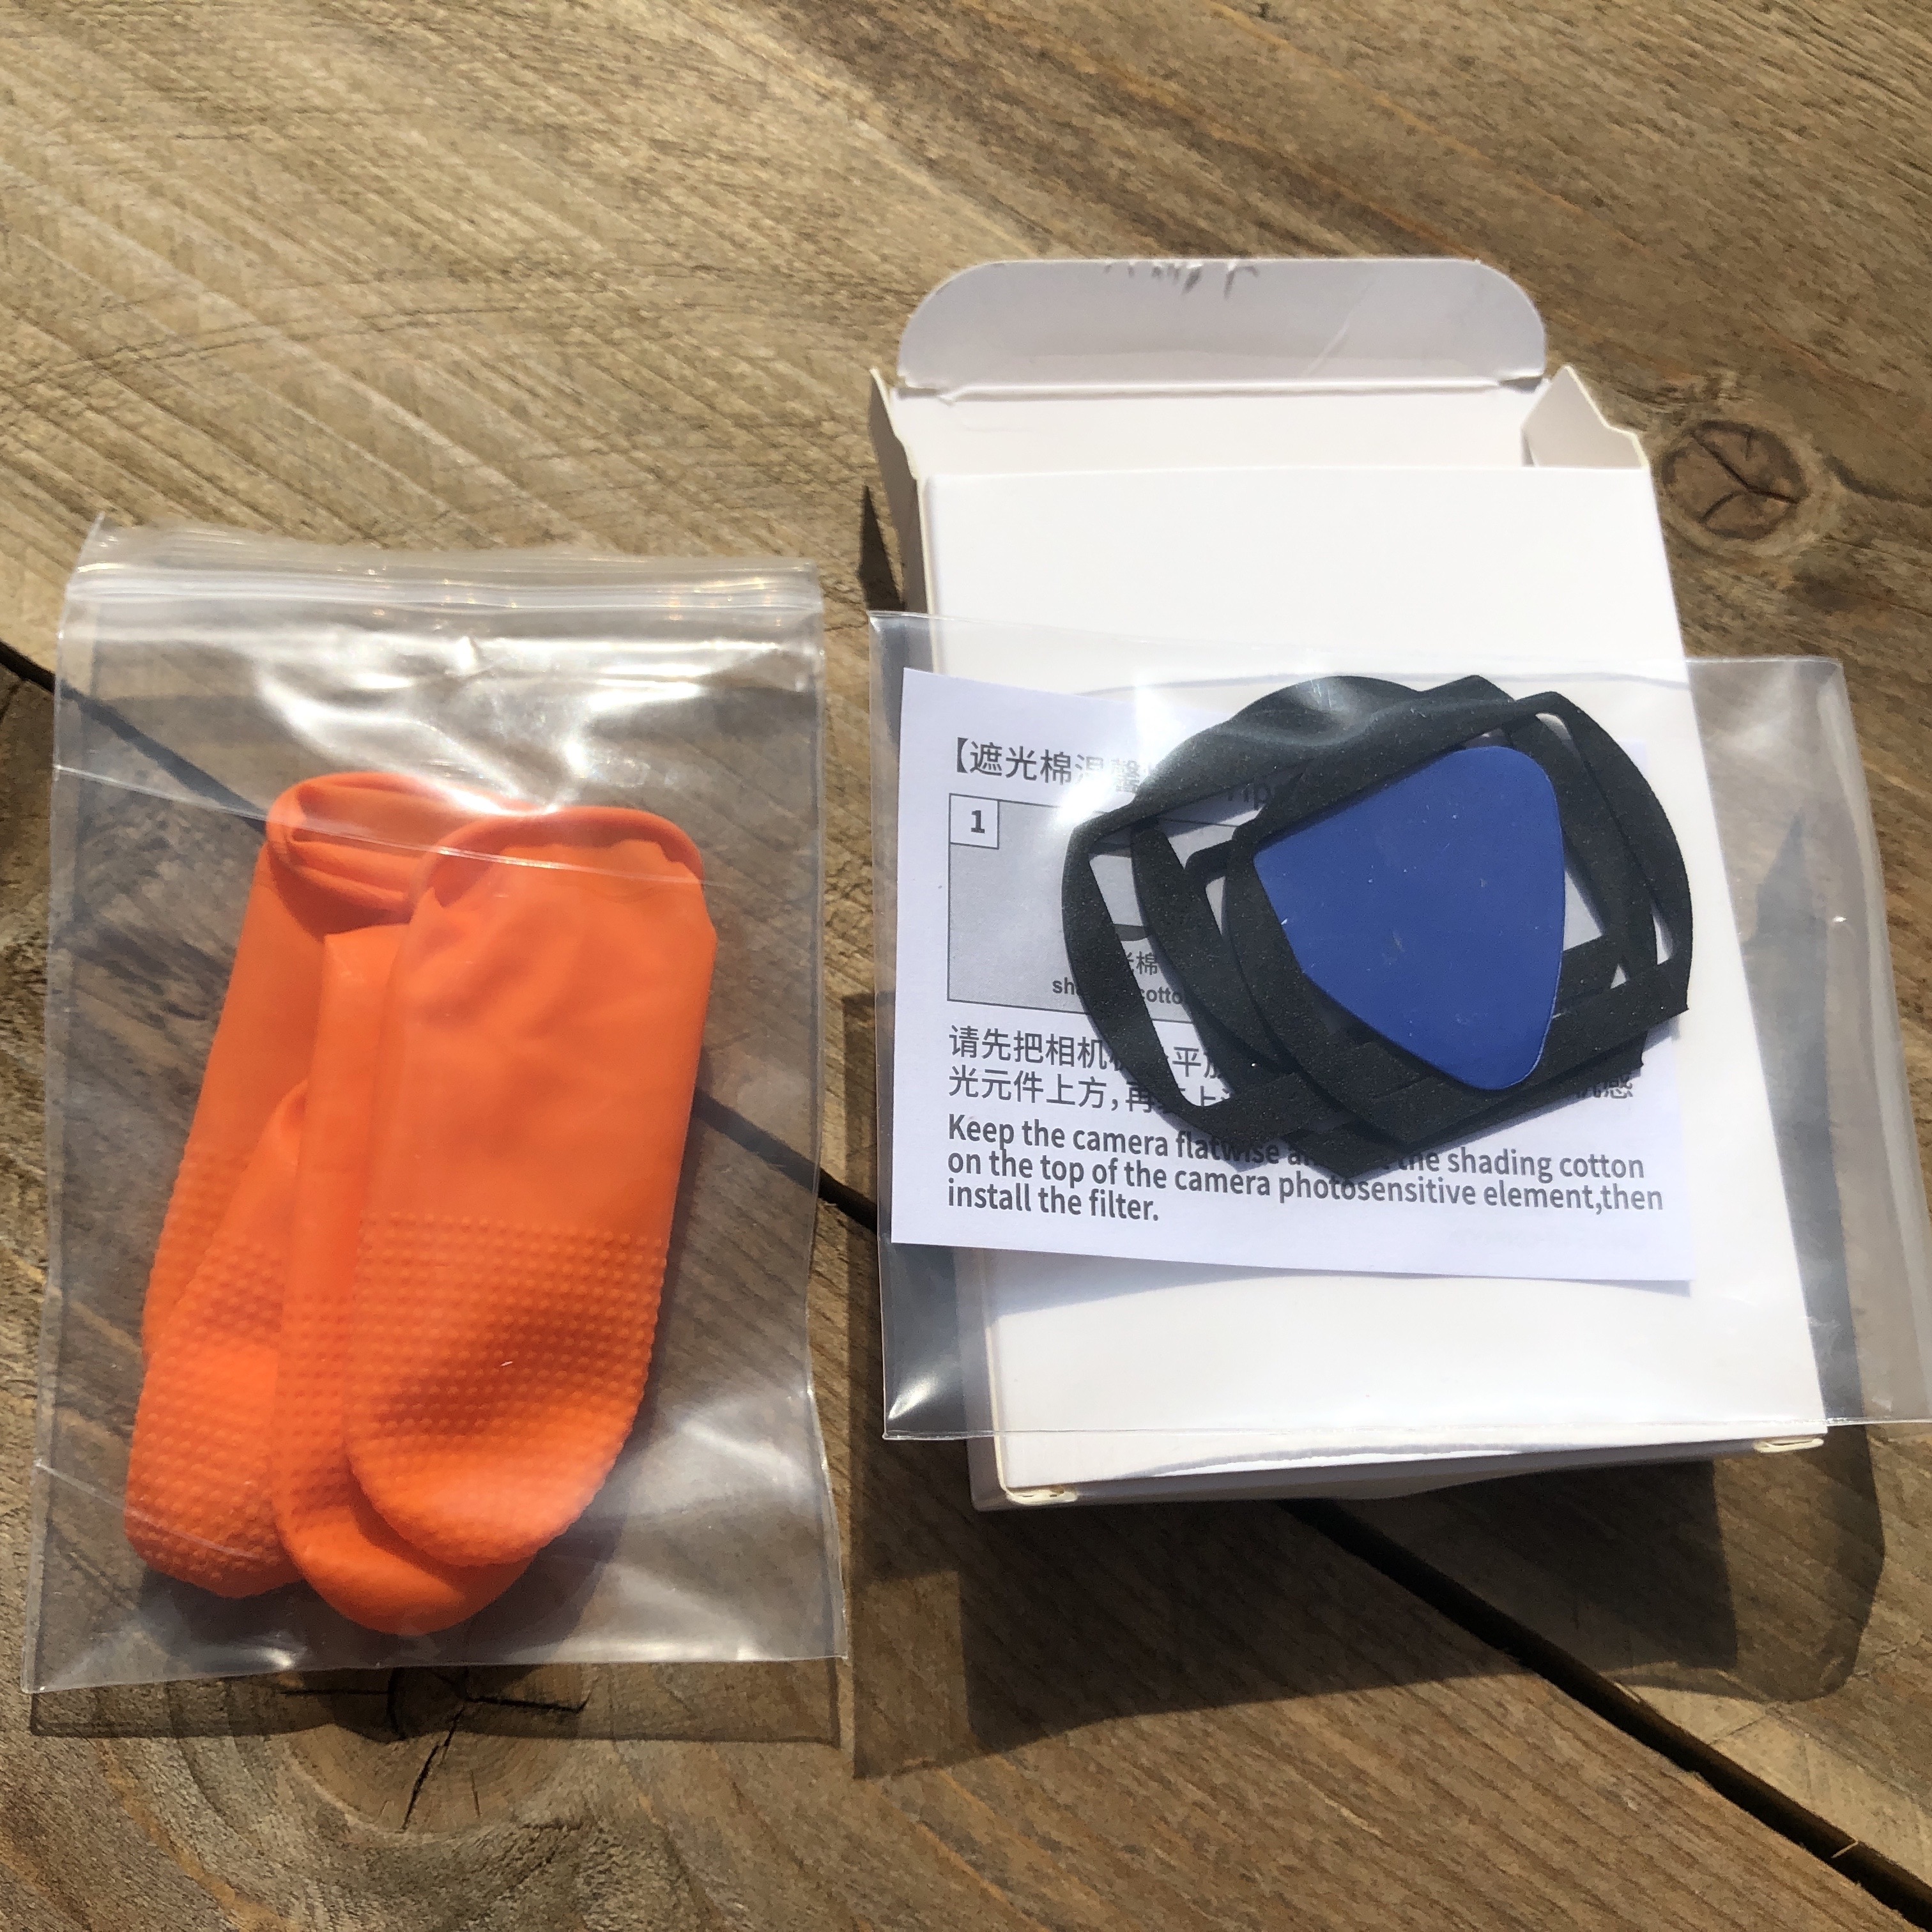
- Rubber finger gloves
- Plastic removal tool
- Cotton black gaskets
- Instructions for use

(the filter is very light when holding in my hand, only 3.3g)
When holding one of the filters in my hand, I was very surprised at its superlow weight. Honestly, it felt quite fragile. However, knowing that the filters are made from B270 optical glass I
assume they are not as fragile as they feel. Looking at the filters you can clearly see that they follow the shape of the frame around the camera sensor. On the bottom part of each filter the
filter type is printed.

(there are 6 filter slots in the storage box)
The plastic storage box has a foam insert with 6 filter slots. As this set contains only 4 filters, I assume more filters are to be developed at a later stage. It’s easy to put and remove the filters
from the slots. Actually, when aligned properly the filter names stick out a little, making it easier for you to pick the correct filter.
Also included in the package are a couple of black cotton gaskets. They are supposed to help prevent light leaks when doing long exposures. They are to be applied behind the clip-in filters to
properly seal any possible openings.
The included orange rubber finger gloves can be used to install the clip-in filters and prevent fingerprints on the filters. However, with a bit of practice it’s very easy to install a filter without
touching the glass.
The plastic disassembly tool looks like a guitar plectrum. It is used to uninstall the clip-in filter. It’s an essential piece of material, so you better don’t lose it. Remember the 2 empty slots in the
storage box?
The instructions for use give you a brief yet good insight in how to (un)install the filters. I preferred reading the installation instructions and watching the videos at KASE’s website.
APPLICATION
In this review I won’t go into detail about the exact installation instructions. They are very well explained on KASE’s website.
I must admit that I was a bit hesitant about using this type of filters. I was afraid to touch or even damage my camera’s sensor when installing the filter. However, after reading the instructions
and especially after watching the video, it was surprisingly easy to install the filter. Position the filter in a 45-degrees angle (with the KASE lettering facing the camera sensor), placing the tab in
the slot and push until it snaps into place. Don’t be too careful when installing the clip-in filter, gently position it and push until you hear a click. If the filter is not installed properly, it won’t be
| 이전글 | 이전글이 없습니다. | ||
| 다음글 | Kase Clip-in Filter for Fujifilm X cameras by Netherlands ambassador Thomas van der Laan 2021-10-15 | ||


 삼각대
삼각대 필터
필터 카메라렌즈
카메라렌즈 시네마렌즈
시네마렌즈 카메라가방
카메라가방 영상장비
영상장비 조명마이크
조명마이크 액세서리
액세서리 테더툴스
테더툴스 영상송수신기
 드론&액션캠


